- Posted on: 2020-08-14
How do we transition our existing LabVIEW code to Symplify™?
That’s a frequent question so our engineers wrote about the various steps of the journey. Typically, the whole process takes a couple of weeks with minor support from our staff.
Step 1 – Install Symplify™ and add a Template VI to your project
This new VI adds everything required by Symplify and runs in parallel to your application. You are now ready to monitor the CPU and RAM usage of your application on a graph over time.
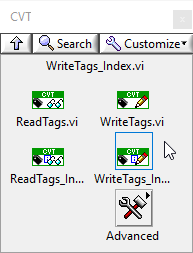
Step 2 – Add Tags within your code
Find the most important variables in your application (typically 10-20) and use “CVT Write” anywhere they are modified. Our CVT is optimized for performance so the system remains responsive even if your code uses hundreds of tags accessed dozens of times per second. As soon as this is completed, values are streamed to TDMS files and you can use them for troubleshooting anytime.
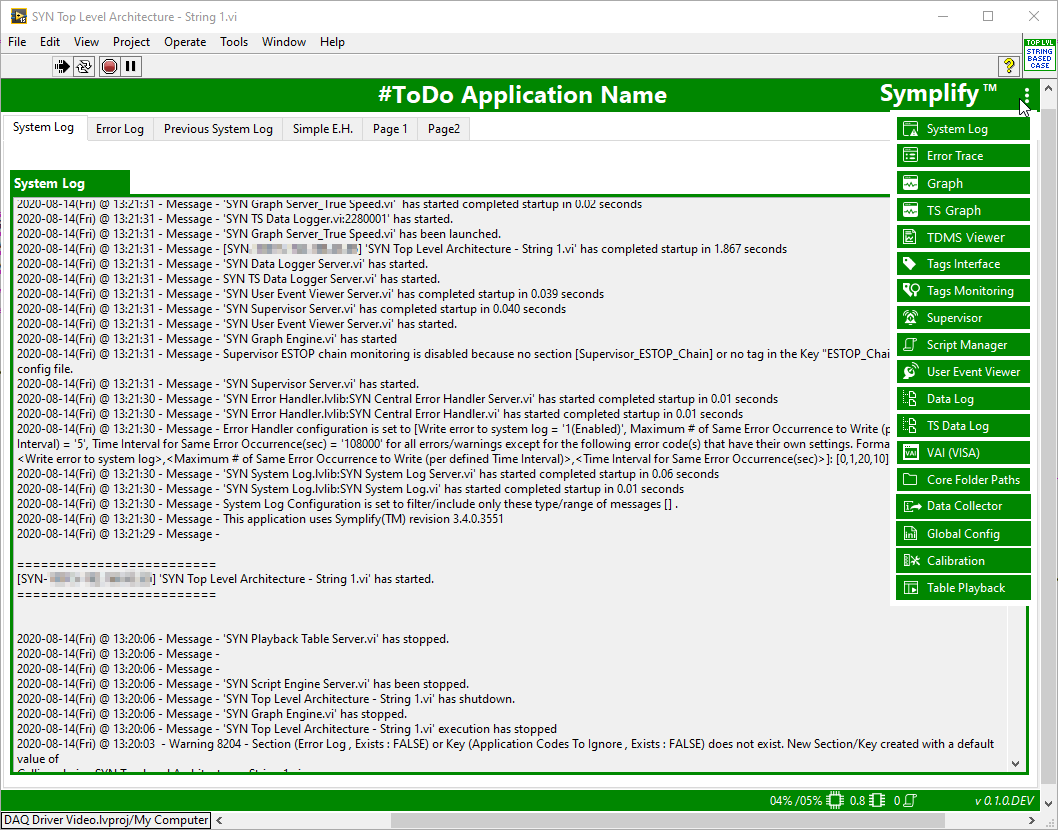
Step 3 – Handle Errors and System Log message
Use the applicable Symplify™ Error handling API depending on your architecture (open source error handler for general location or the core Symplify error handler for state machines). Add System Log message in any piece of code that you are actively developing or troubleshooting to accelerate the process now and later.
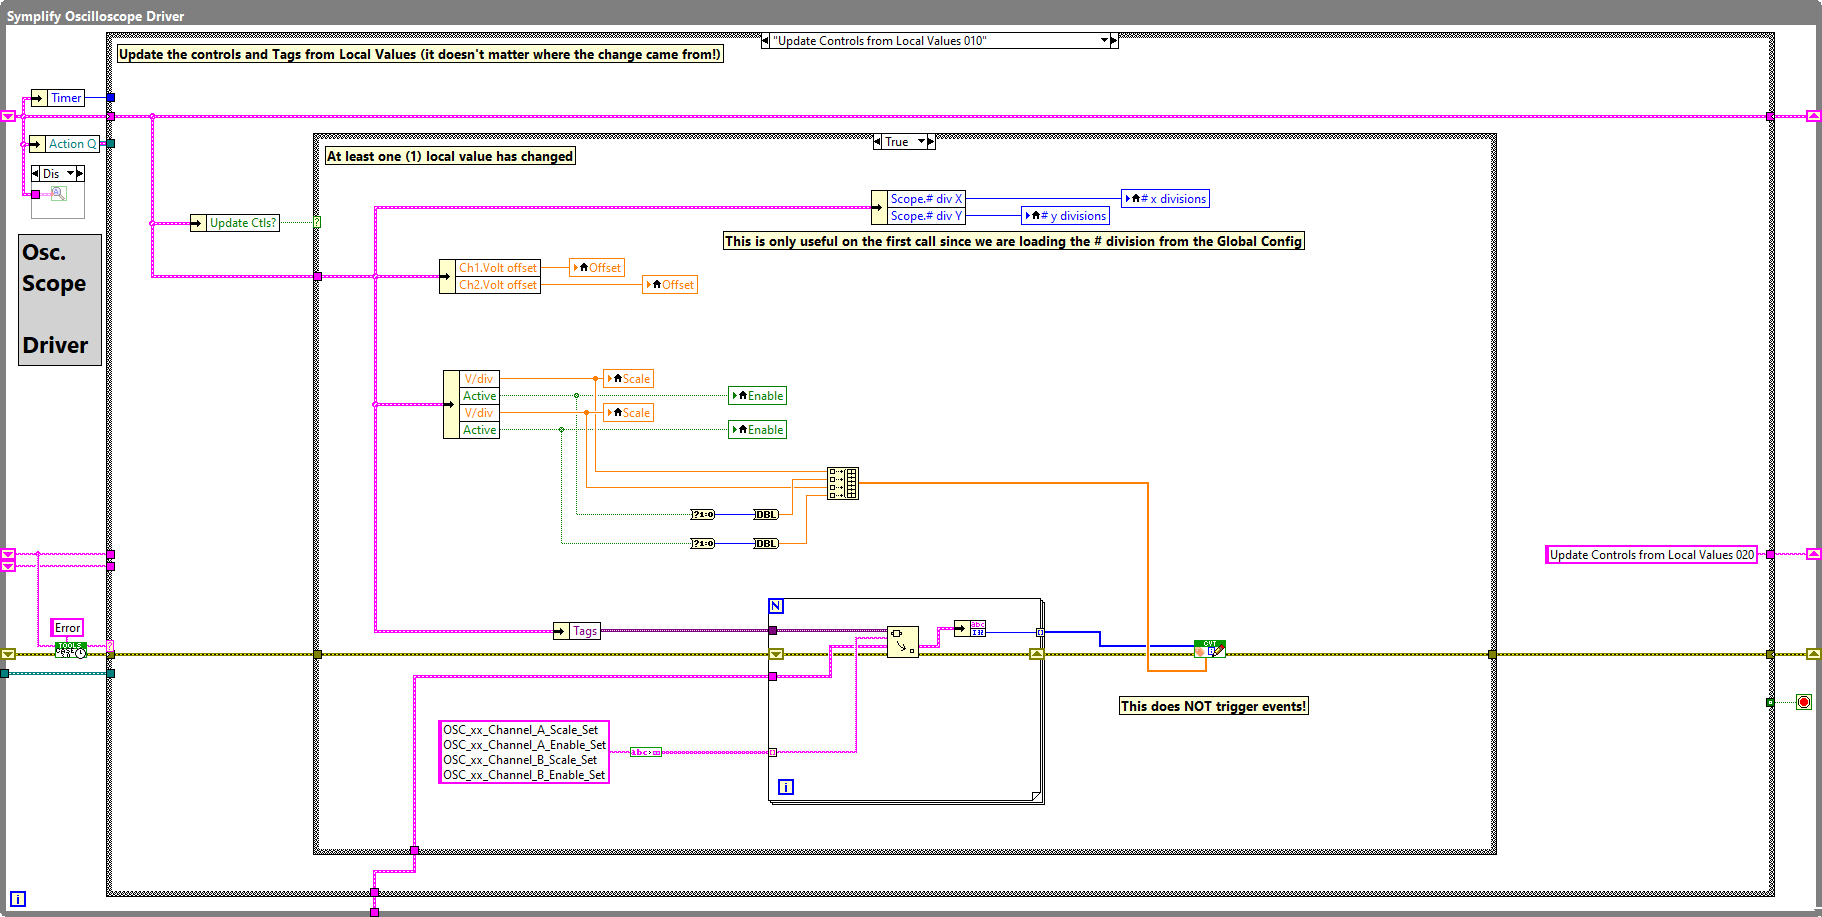
Step 4 – Say Goodbye! to the “spaghetti”
At this stage, it’s good to replace you NI DAQmx, SCPI power supplies and other instruments by Symplify™ open source drivers. This opens up new tools such as True-Speed data logger and other Symplify™ libraries to record and process high-speed DAQ data. Generally, following the first 3 steps, continue adding Tags and regularly run your application to make sure it still works as expected. Take advantage of all the tools such as Graph and error handling to isolate and resolve issues in seconds.
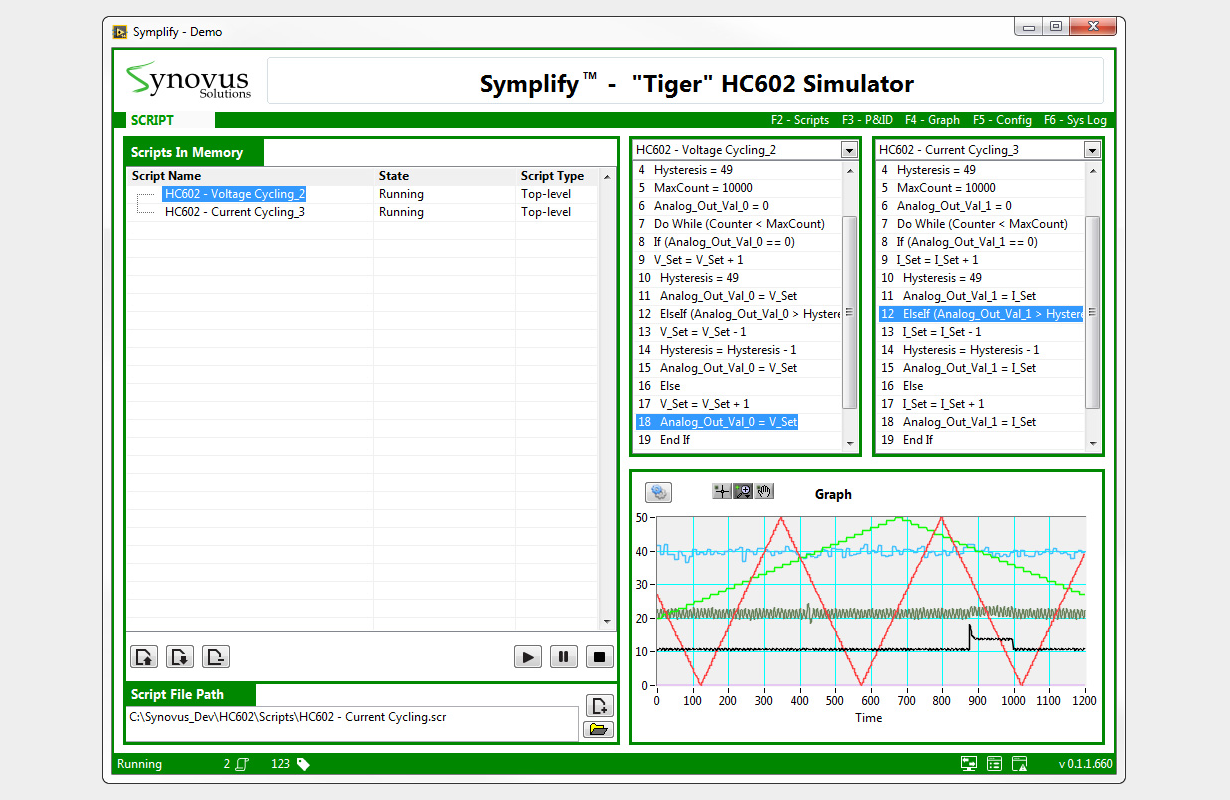
Step 5 – Start using Scripts to run better test plans
The script engine has been running in the background since Step 1. Here, we train and educate new user to use it and how it can communicate with your existing “automation engine” by adding a few Tags for the basic interactions (Start, Stop, Status?). You can continue using your existing test plan while taking advantage of greater flexibility for new tests.
Step 6 – Move to parallel execution in independent VIs
Once most of the code has been decoupled by using the standard CVT API, move the remaining logic into separate VIs based on the functionalities. Typically, it should look like this:
- Driver (DAQ, power supply, DUT, etc.)
- User Interface (production, engineering, etc.)
- Device Test Support (most of the logic that involves more than 1 driver)
Since you add more and more troubleshooting capabilities to your ATS as the transition progresses, it is easy to resolve minor bugs that invariably happen but most importantly, you begin to understand the long time “intermittent issues” with your system and solve them, once for all.
Contact us to discuss your application and see how Symplify can accelerate your LabVIEW development and reduce your costs.